Mario Drawing Step By Step

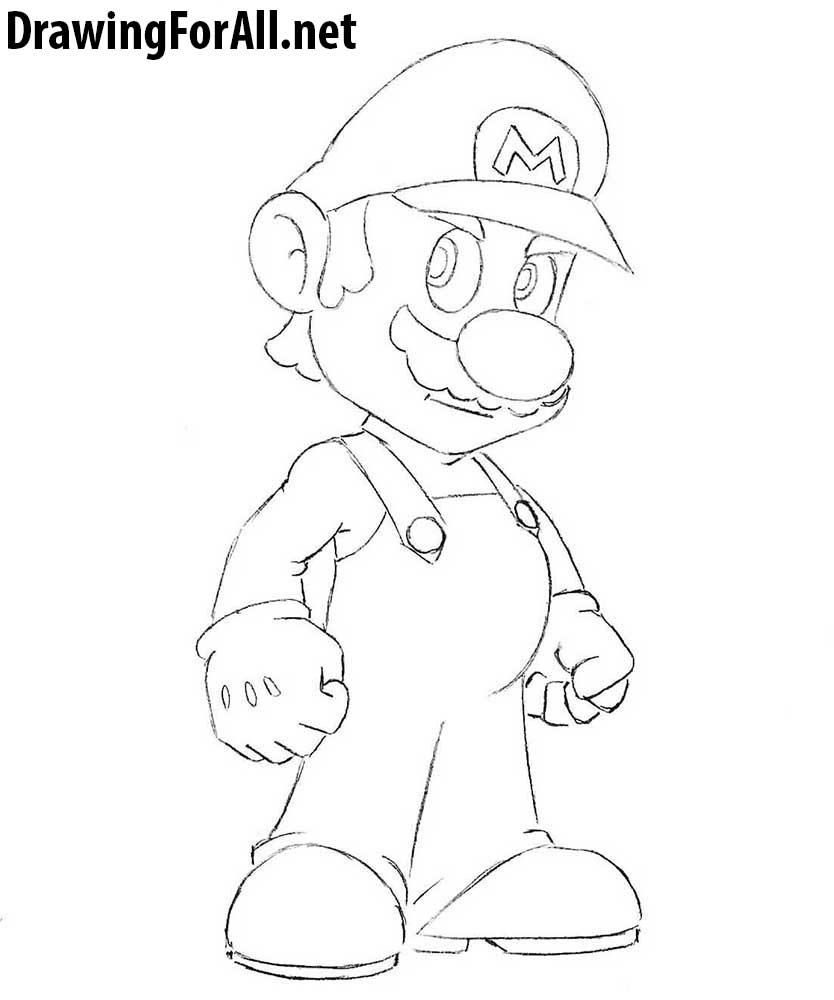
Today we present you a new drawing lesson, in which we will focus on the most famous plumber in the world – Mario. This moustached hero has become an icon not only of eight-bit era of entertainment dawn of video games, but the entire gaming industry as a whole.
We note, that in one of our previous drawing lessons we talked about how to draw the very first rival of Mario – Donkey Kong. So, how to draw Mario step by step? Let's start the lesson and learn how to do it!
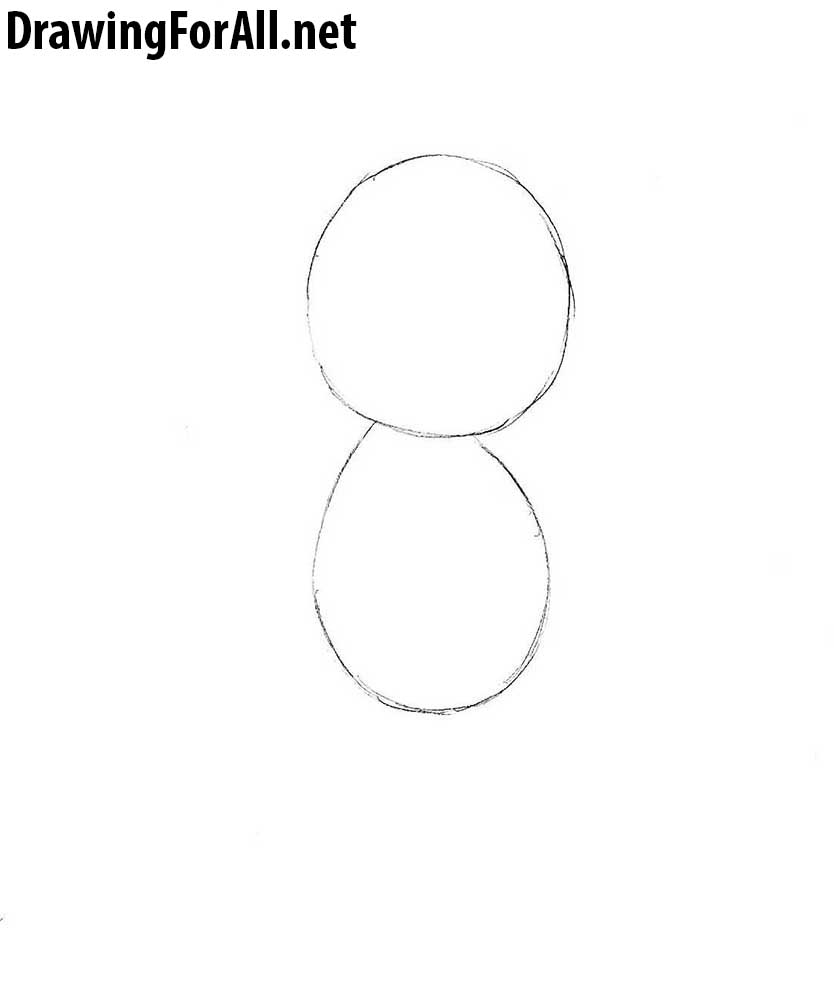
Step 1
So, draw two figures, the upper of which is the head of Mario, and the lower it is the torso. Draw the head in the form of a circle, and the body of the shape of an oval. At this stage Mario looks like a snowman, is not it?

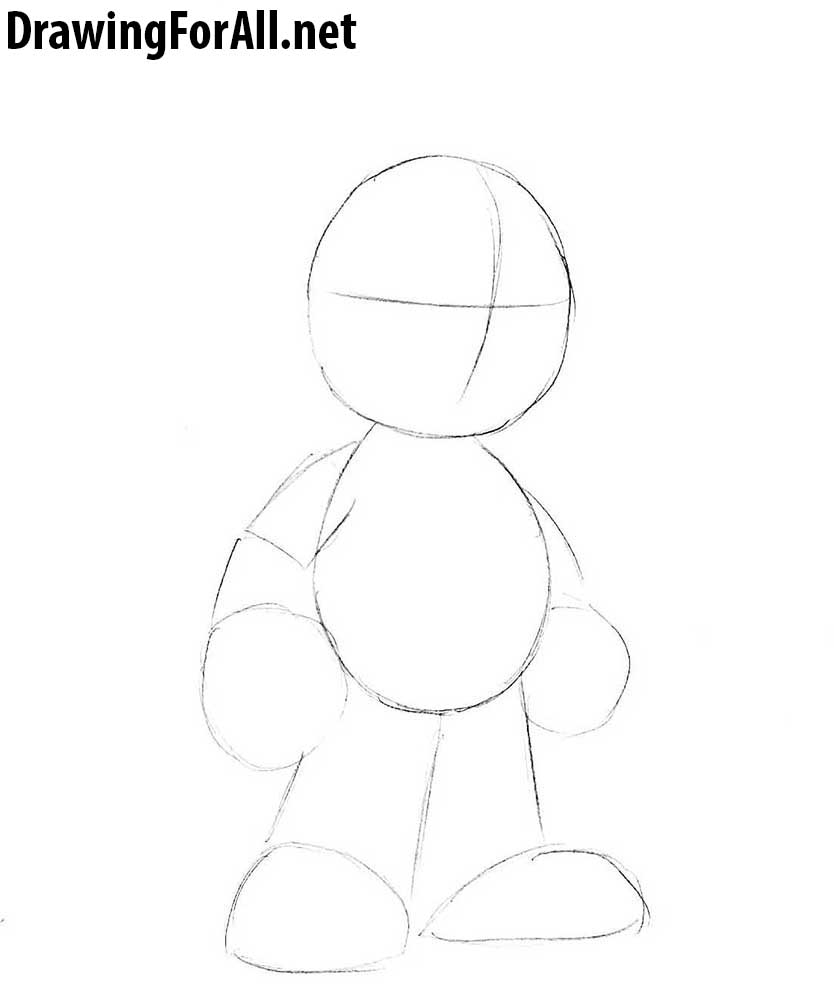
Step 2
At this step the figure of Mario starting to take human form. Sketch out the arms and legs. Note, that the hands and feet should be disproportionately large.
In this same step we draw the lines of the facial symmetry (horizontal line of the eyes and vertical line of the symmetry), which in further will help us to draw the facial features.

Step 3
In this step let's draw some general details on the head of Mario. At first draw the ear, in a shape of a semicircle. Then sketch out the famous hat of Mario, as in our example. As you can see, this step was quite simple.

Step 4
Now draw the ovals of the eyes, a mustache and funny bulbous nose. Note, that in this step your Mario can be too similar to Joseph Stalin, but don't be afraid, in the next steps we'll fix it.

Step 5
Draw Mario's head, erase all the extra lines from the previous steps. Draw a logo in the form of the letter "M", using a pair of lines denote the ear. Then outline the sideburns and the hair in the nape area. Next draw the eyes – note the position of the pupils, it is conveys the direction of gaze. Using a direct line draw the mouth, whiskers and outline sketch out the eyebrows.

Step 6
In this step we draw another one mandatory attribute of appearance of Mario – his jumpsuit. First sketch out the straps of the jumpsuit, then draw the upper line. Draw clenched fists, the contours of the lower edges of pants, outline the soles of boots.

Step 7
Add details to the arms and erase the extra guidelines. Draw the round rivets on straps of jumpsuit. Sketch out some folds, located on the arms and armpits, and move to the last step of the tutorial on how to draw Mario.

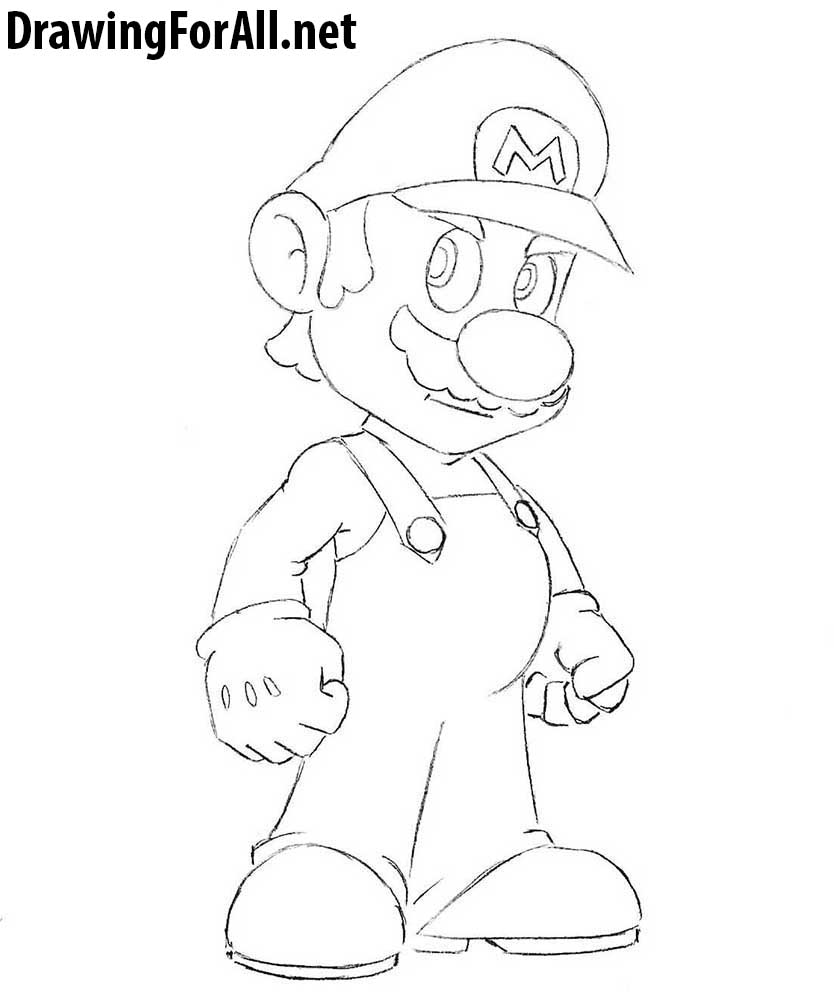
Step 8
So, we reached the last step of our drawing tutorial. Erase the guidelines from the lower part of the body, outline the trousers and footwear. Draw the small folds of fabric, as in our sample.

Now you know how to draw Mario! We sincerely hope, that you enjoyed this drawing lesson. If so, be sure to share it with your friends and subscribe to us on Facebook, Google Plus and YouTube page.
Mario Drawing Step By Step
Source: https://www.drawingforall.net/how-to-draw-mario/
Posted by: quinnpase1945.blogspot.com

0 Response to "Mario Drawing Step By Step"
Post a Comment